RECENT POSTS


Completed Guide to Using Polymer Clay Cutters
Polymer clay cutters are invaluable tools that enable artists to create precise shapes and intricate designs in their clay projects. Puocaon is committed to providing easy-to-use and High quality polymer clay tools for clay artist or beginner.
This comprehensive guide will provide you with detailed instructions on effectively using polymer clay cutters. From selecting the right cutter to tips of using cutters , we'll cover everything you need to know to elevate your clay creations to new heights of precision and artistry.
-
Understanding Polymer Clay Cutters
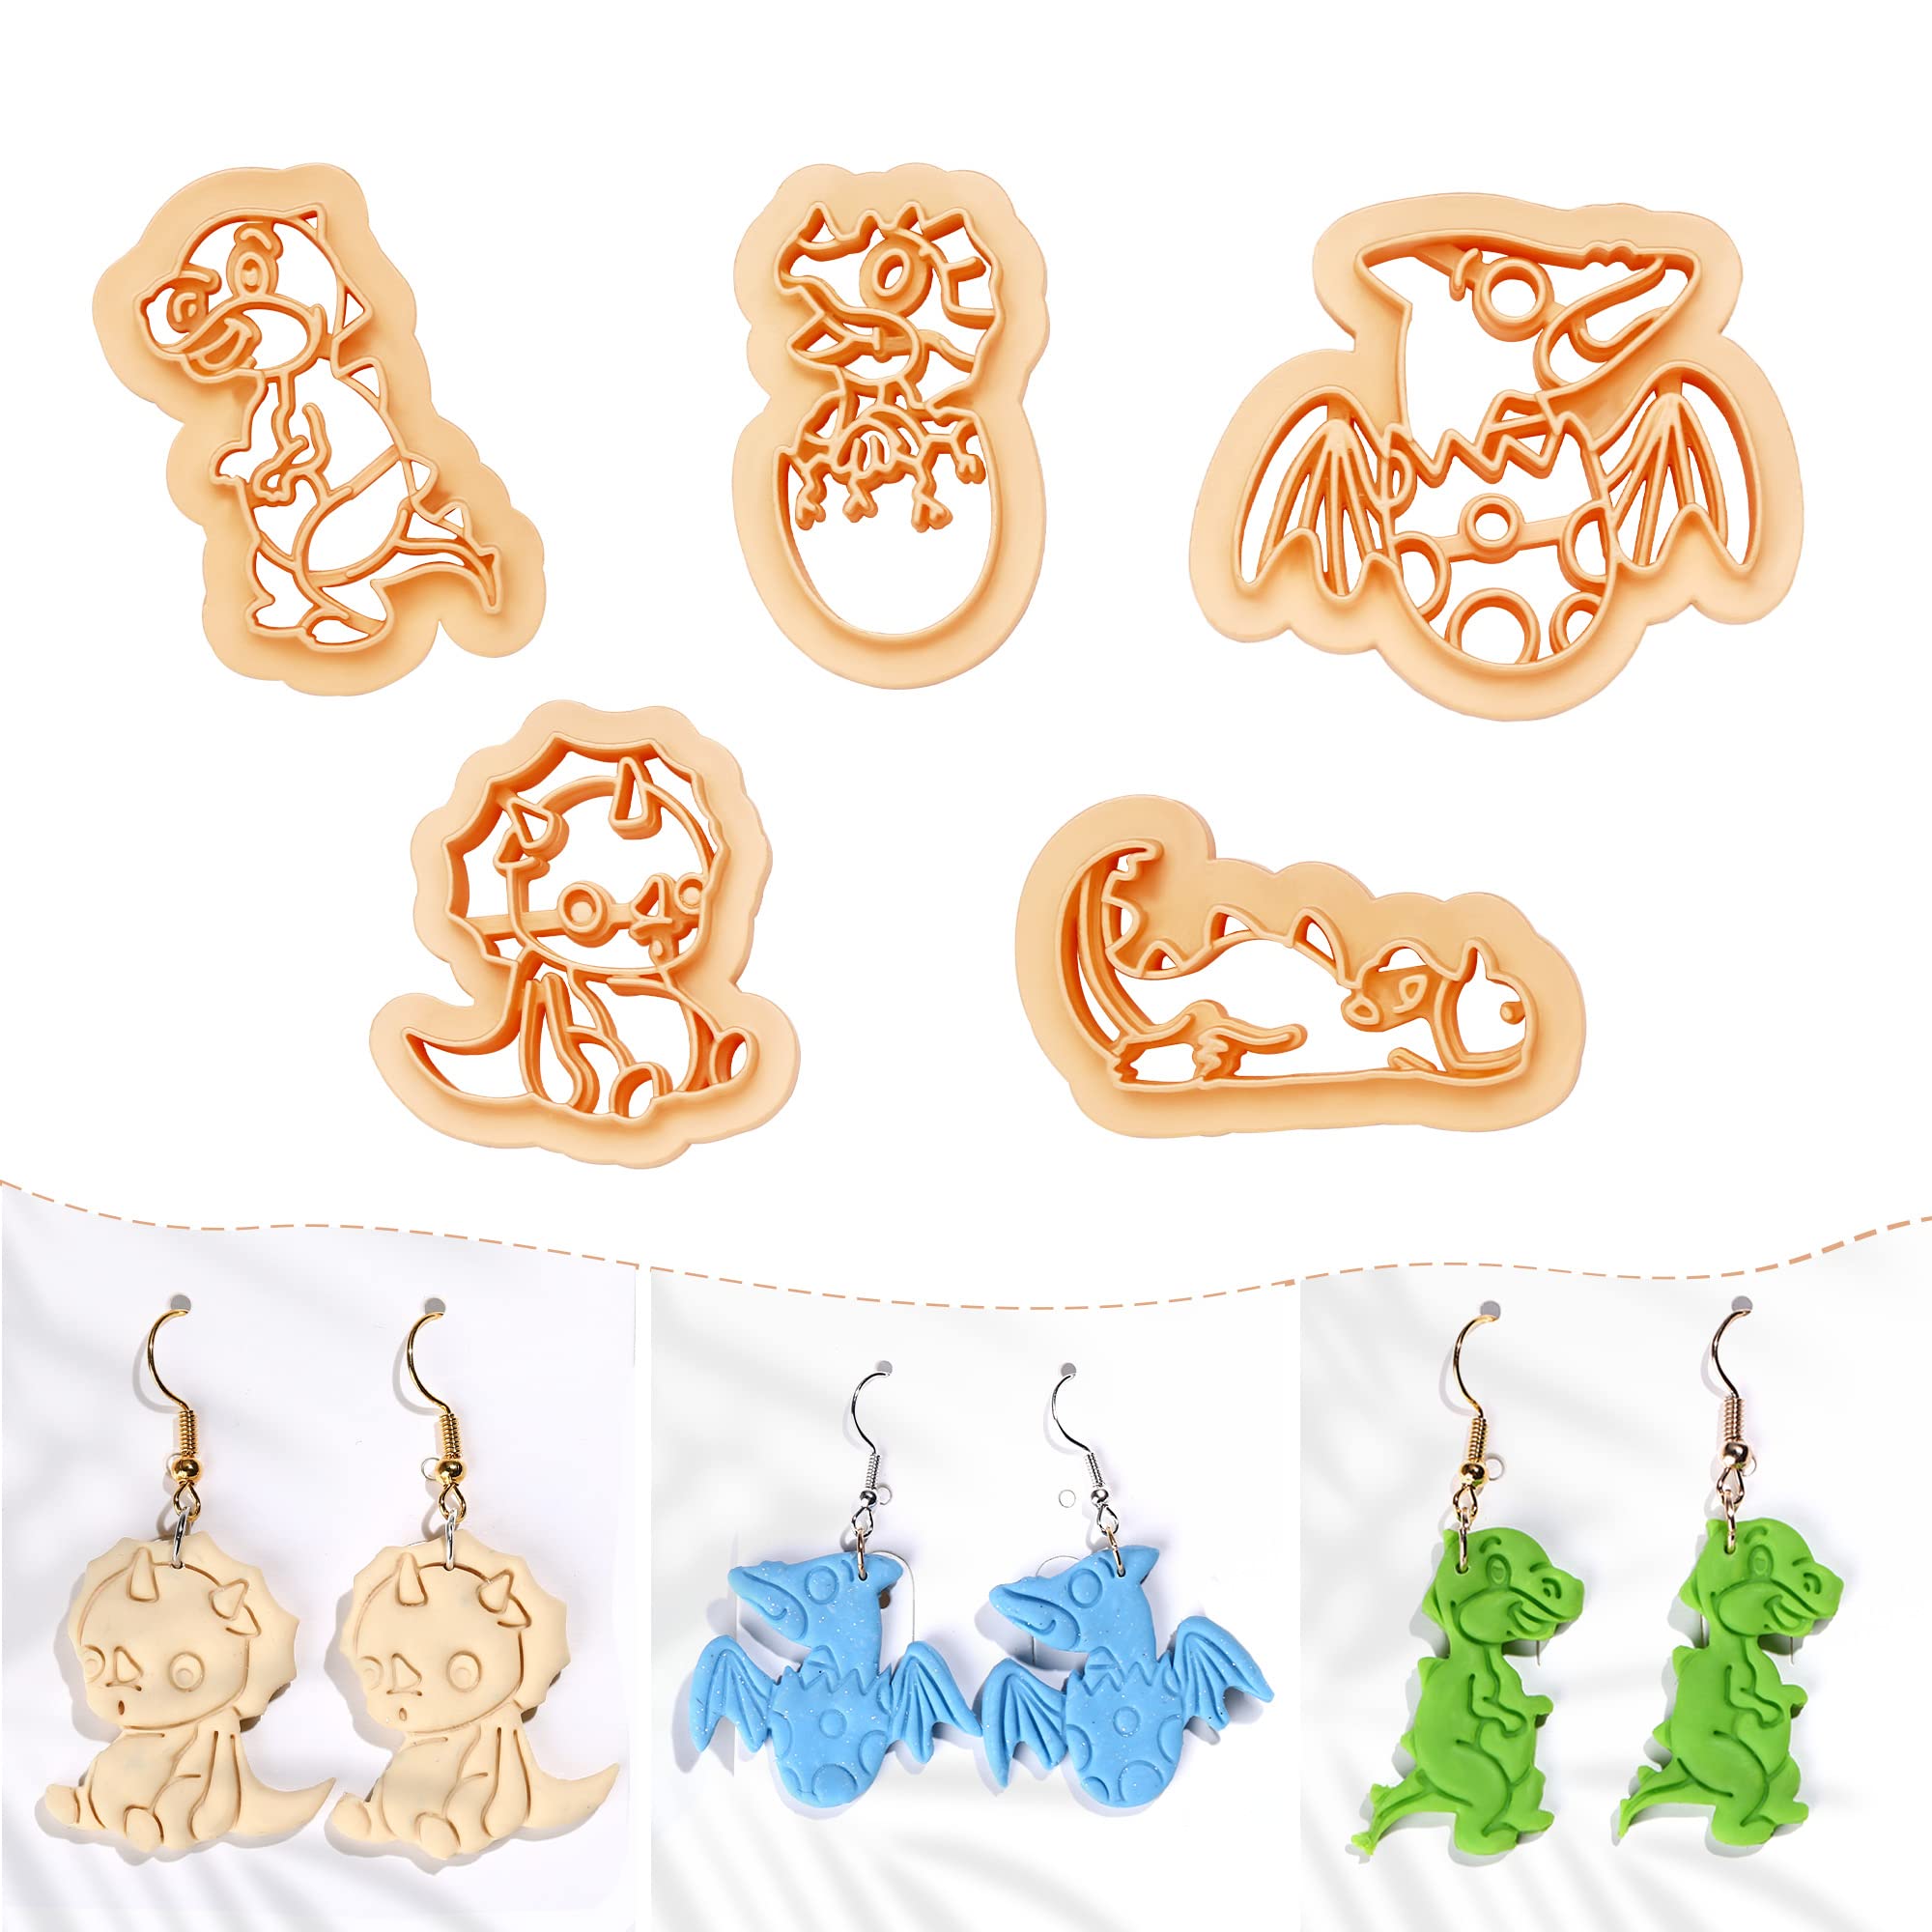
1.1. Types of Polymer Clay Cutters There are various types of polymer clay cutters available, including basic geometric shapes (circles, squares, rectangles), specialty shapes (hearts, flowers, animals), and versatile interchangeable sets. Consider the shapes you'll need for your specific project and invest in a set that suits your requirements.
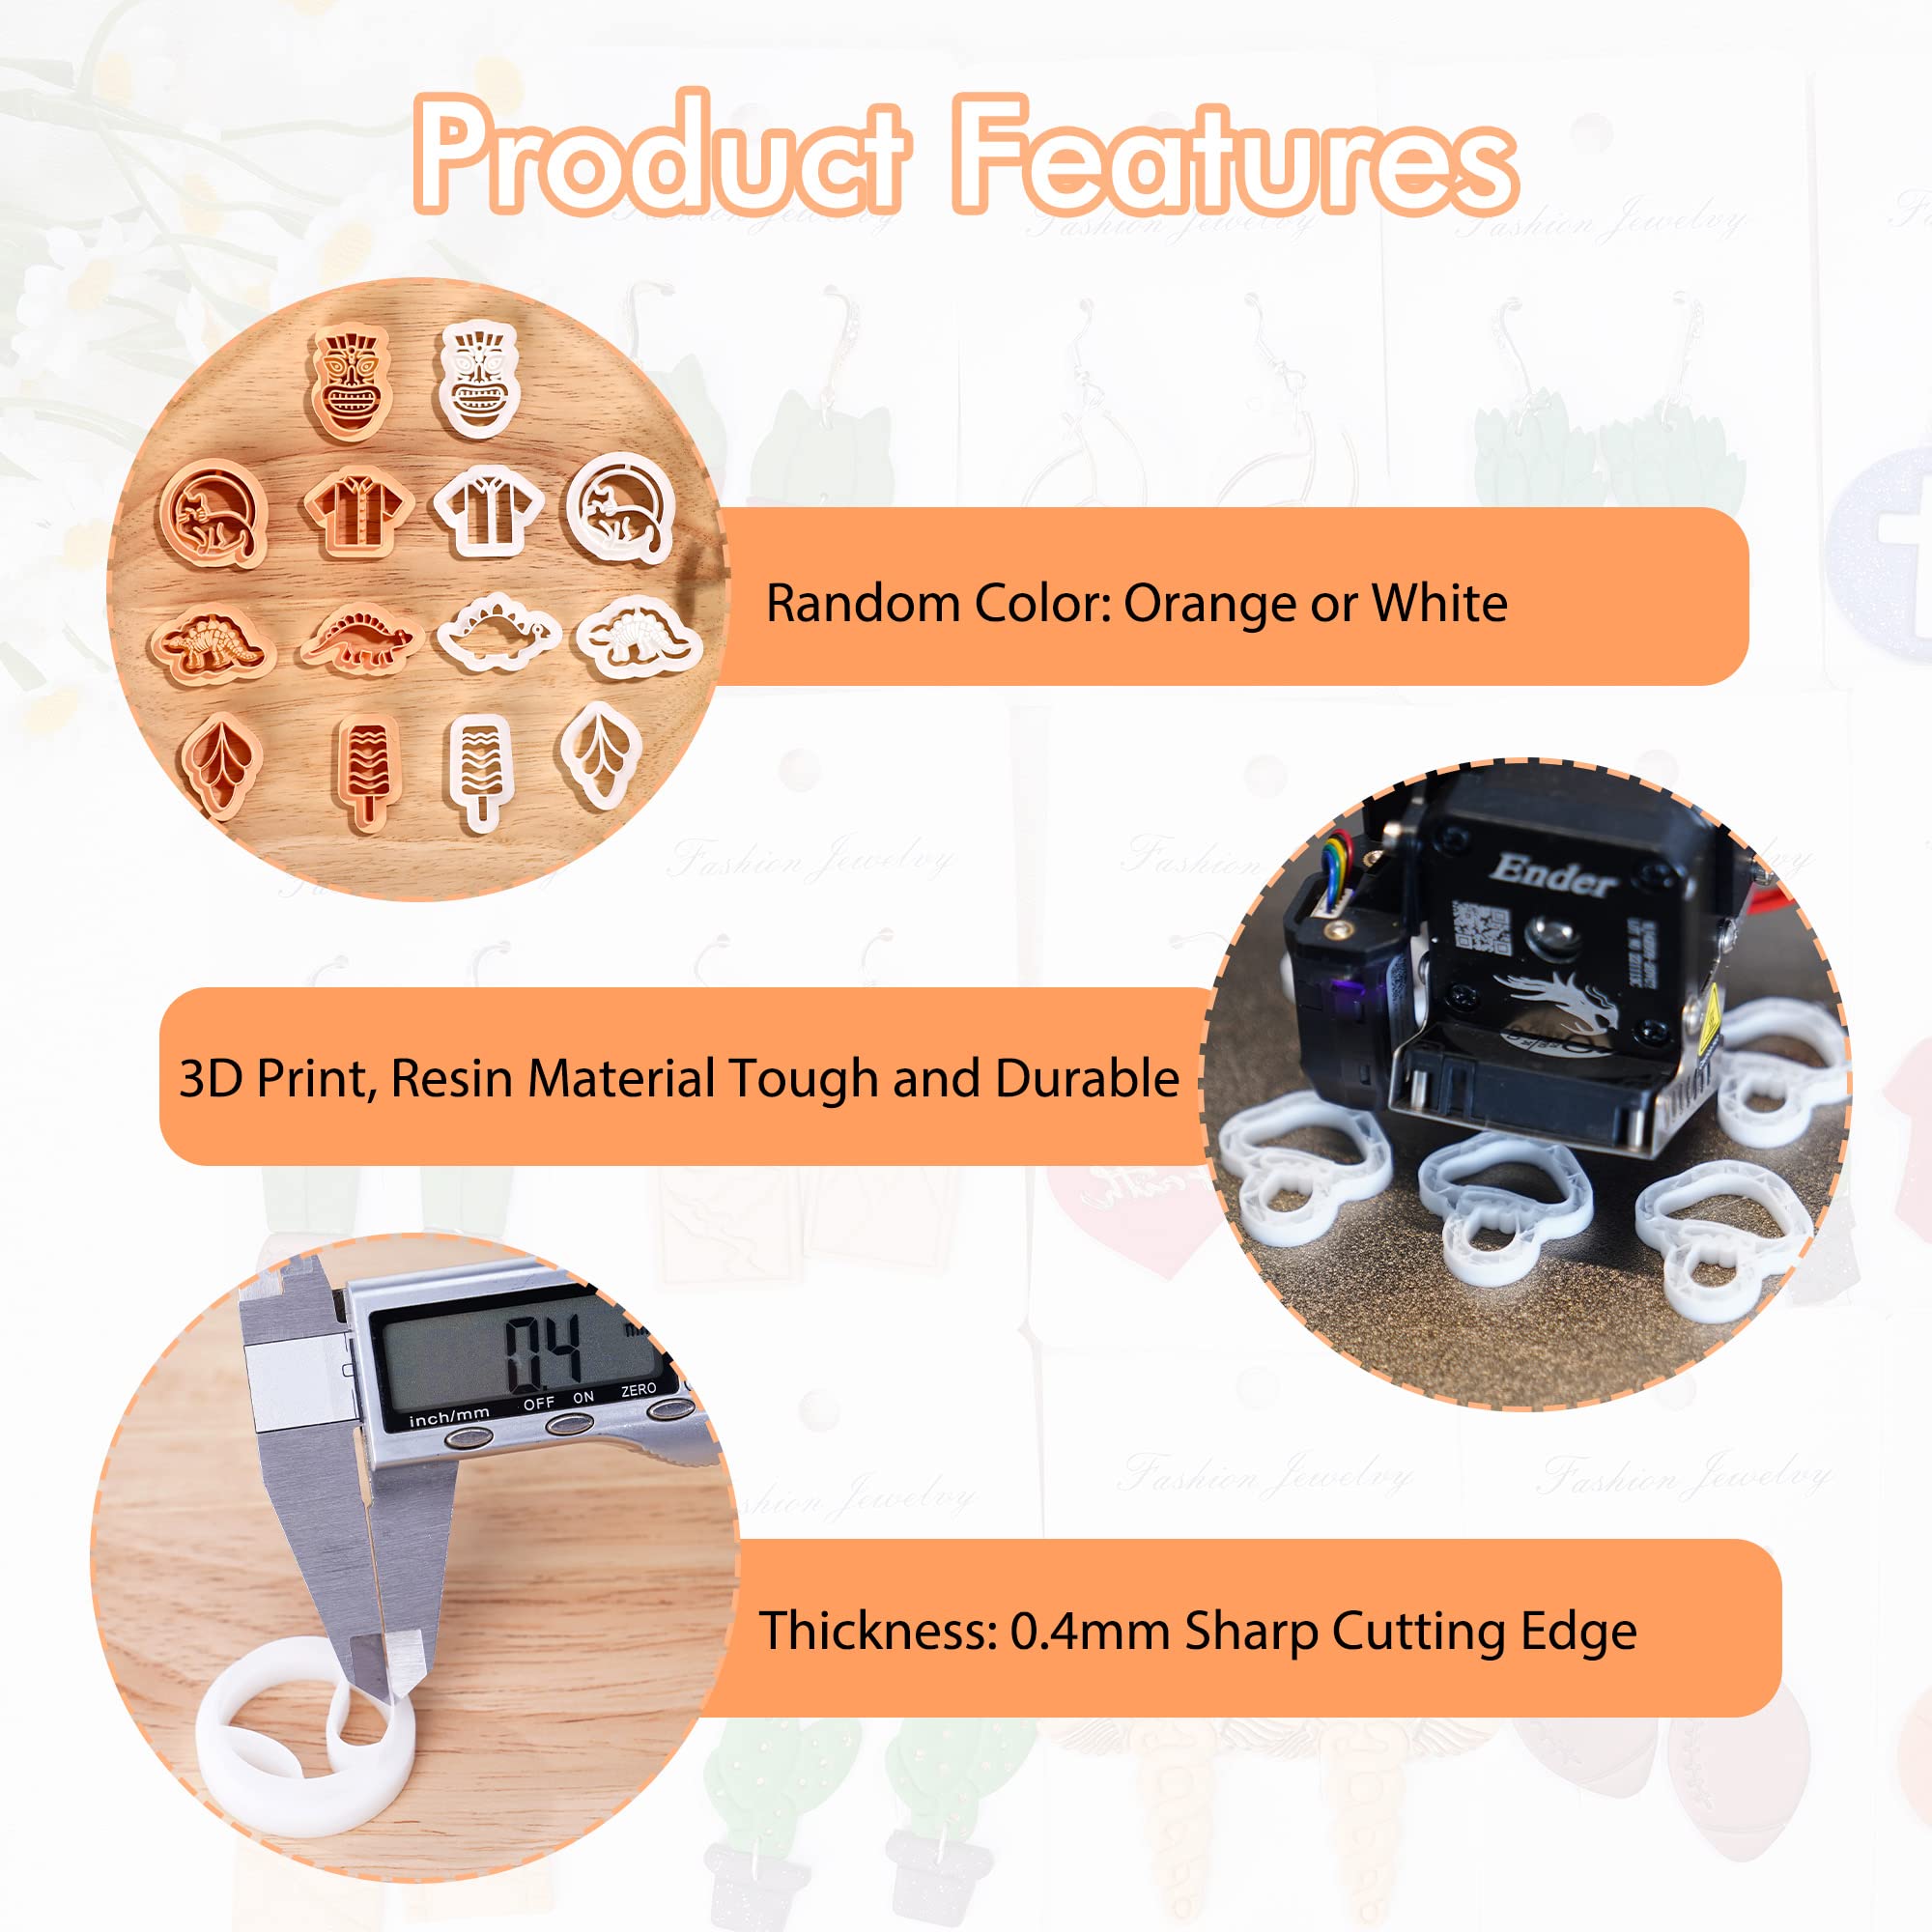
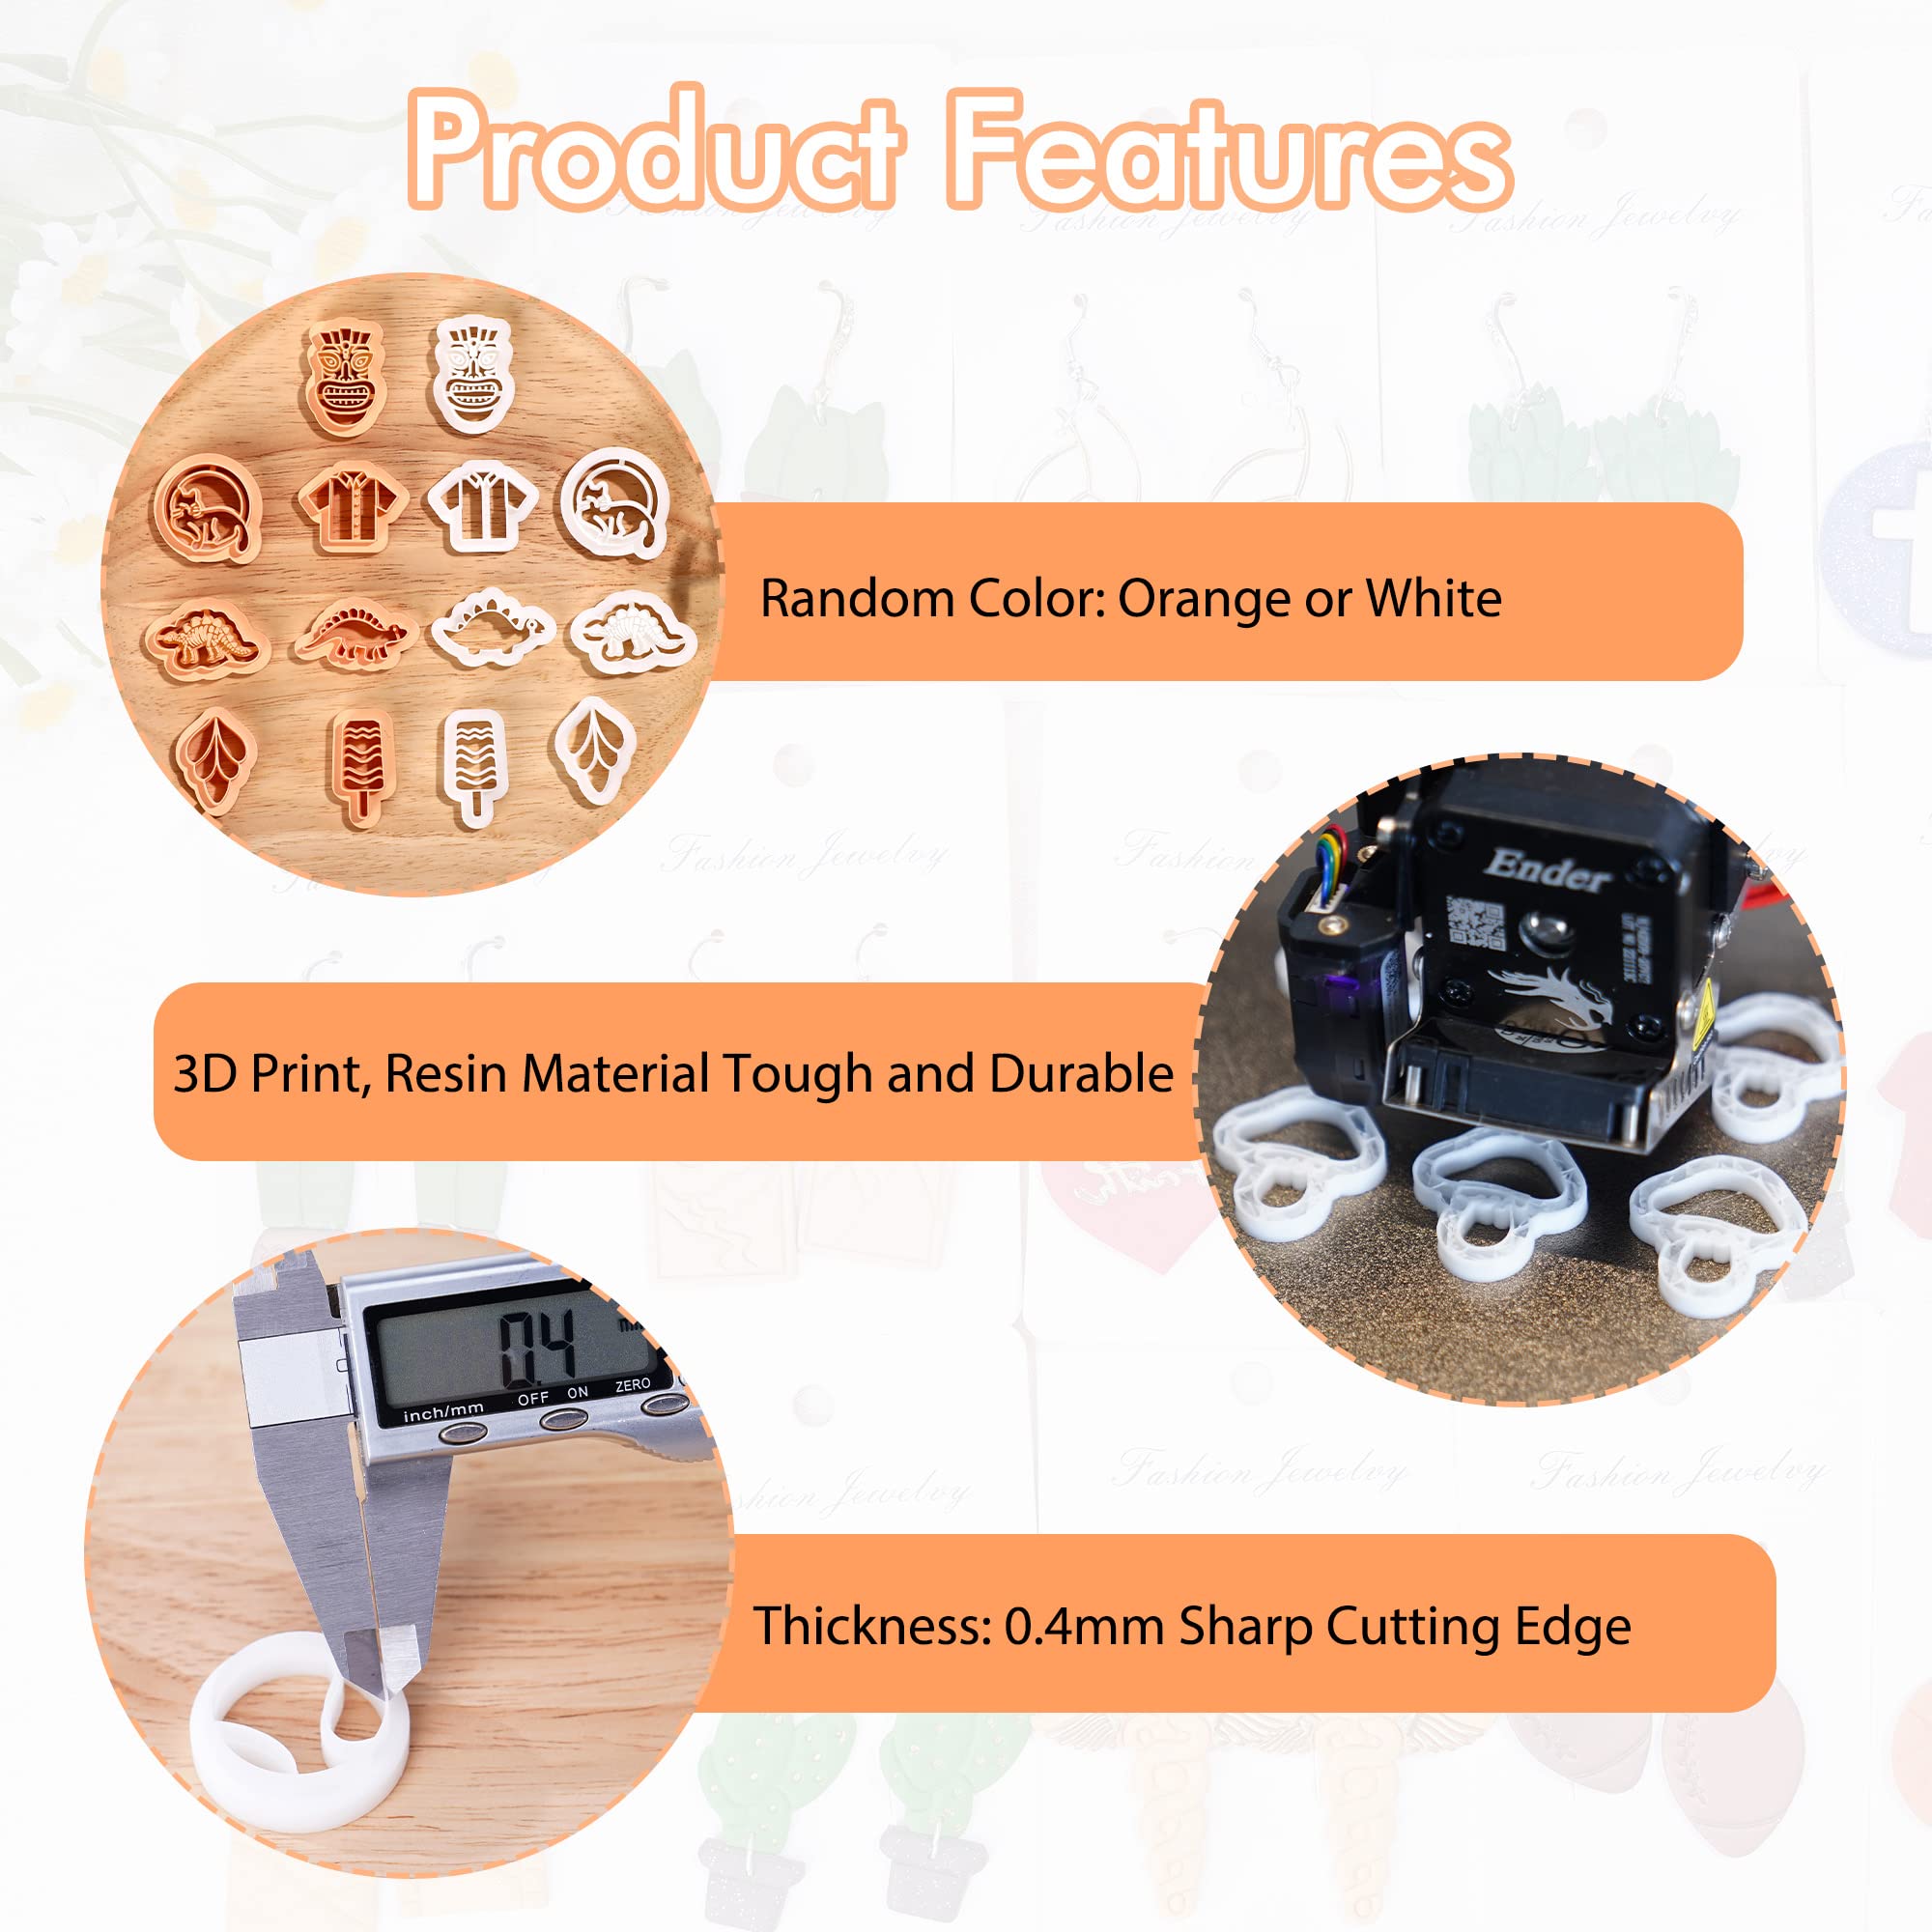
1.2. Cutter Materials and Quality Polymer clay cutters are typically made of metal or polymer. Metal cutters are more durable and provide clean cuts, while polymer cutters are lightweight and affordable. Choose cutters with smooth, well-defined edges to ensure precise and professional results.
-
Preparing the Clay for Cutting
2.1. Conditioning the Clay Properly condition your polymer clay by kneading and warming it until it becomes soft and pliable. This step ensures that the clay is malleable and reduces the risk of cracks or distortions during cutting.
2.2. Rolling and Thickness Roll out your clay to a consistent thickness using a rolling pin or a clay-dedicated pasta machine. Aim for an even thickness throughout the sheet to achieve uniform cuts. Consider the desired thickness for your project and adjust accordingly.
-
Basic Cutting Techniques
3.1. Placement and Pressure Place your rolled-out clay on a clean, smooth surface. Position the cutter firmly on the clay, ensuring it is level and perpendicular. Apply even pressure and press the cutter into the clay without rocking or twisting it.
3.2. Clean and Precise Cuts Wiggle the cutter slightly while applying consistent pressure to ensure a clean and crisp cut. Lift the cutter straight up to remove the excess clay, minimizing any distortion or stretching of the shape.
-
Advanced Cutting Techniques
4.1. Layering and Stacking Experiment with layering different colors or types of clay to create stunning patterns and visual effects. Roll out each layer separately, stack them on top of each other, and press the cutter through all the layers. This technique adds depth and complexity to your designs.
4.2. Angled and Inset Cuts Explore cutting at different angles to create unique shapes and angles in your clay. Tilt the cutter slightly or cut diagonally to achieve interesting designs and add depth to your creations. You can also create insets by cutting out shapes within larger shapes.
-
Tips and Troubleshooting
5.1. Preventing Sticking To prevent the clay from sticking to the cutter, lightly dust the cutter's edges with cornstarch, talcum powder, or a clay release agent before each cut. This ensures smooth and effortless cutting.
5.2. Cleaning and Maintenance After each use, clean your cutters thoroughly with warm water and a gentle soap to remove any clay residue. Dry them completely before storing them to prevent rusting or deterioration.
5.3. Practice and Experimentation Enhance your skills by practicing with different cutter shapes and techniques. Explore the endless possibilities and unleash your creativity by combining shapes, colors, and textures to create unique and captivating clay designs.
Using polymer clay cutters is an art form that requires practice, precision, and creativity. By understanding the types of cutters, preparing the clay properly, and employing various cutting techniques, you can take your clay creations to the next
Related post
09
Jun
02
Jun
30
May